Realtime Access with NoMachine

With NoMachine and properly opened UDP ports, you get a low-latency, near real-time desktop session on your GPU machine.
Unlike classic RDP, NoMachine streams the actual Linux desktop with very high frame rates and excellent input responsiveness, which is especially useful for GPU workloads, visualization, AI tools, and interactive debugging.
🔇 Sound is currently not supported.
Of course, you can also utilize solutions like Parsec 🎮 or other fast, real-time desktop streaming applications for enhanced remote access and collaboration. For more information on Parsec, please visit https://parsec.app/ .
Installation
You need a running Ubuntu Desktop (/docs/templates/ubuntu-desktop) on the GPU server and UDP ports opened via Dashboard Actions.
For the initial setup, connect once via RDP to install and configure NoMachine locally on the server.
Ubuntu Desktop (64-bit):
-
Download DEB
Download the official Debian package for 64-bit Ubuntu.
→ NoMachine for Linux DEB (amd64) from:
https://download.nomachine.com/de/download/?id=1&platform=linux -
Install
Switch to the download directory and install the package using apt.
This automatically resolves dependencies and registers the NoMachine services.bashcd ~/Downloads # or the directory where the file was saved sudo apt install ./nomachine_9.3.7_1_amd64.deb -
Start
After installation, NoMachine runs as a system service. You can open the GUI via: Applications → NoMachine
Configuration
The most critical setting is the network port, which must match the UDP port you opened in the dashboard.
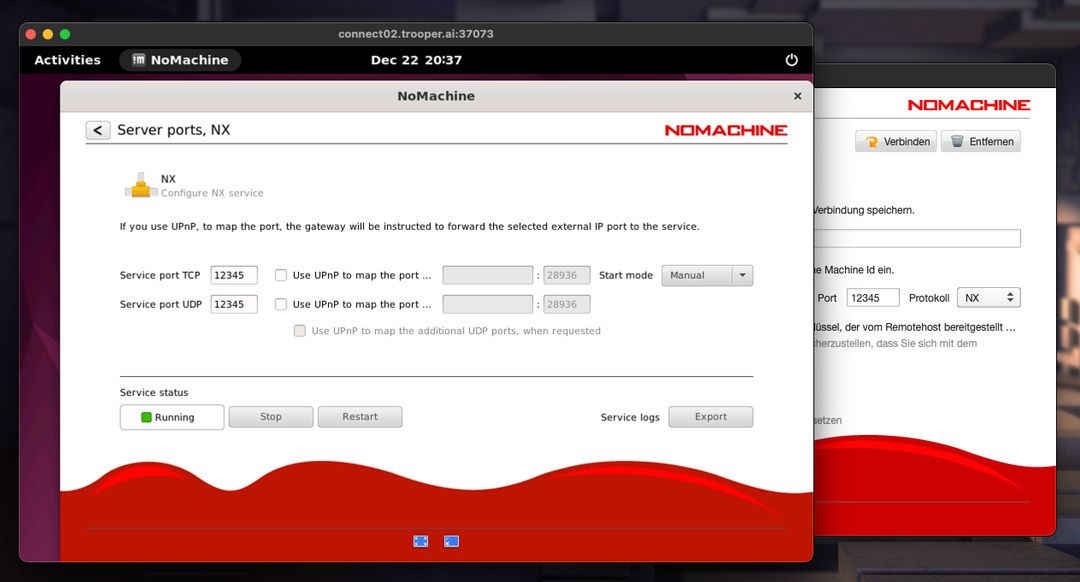
Open the NoMachine server settings, set the desired port explicitly, and confirm the change. After adjusting the port, restart the NoMachine server using the built-in Restart button to ensure the new configuration is active.
Connect
Install NoMachine on your local computer (Windows, macOS, or Linux). Create a new connection and use:
- Hostname: the server hostname from the dashboard
- Port: the port you configured on the GPU server
- Login: your normal Linux user credentials from SSH
After connecting, you will see the live Ubuntu desktop of the GPU machine with real-time interaction.